How To Use Maker Pen Create Menu

By UnderMyCap

Video Tutorial

By UnderMyCap

Key Points Covered In Video

🎨 Create Button: Access various creative tools and shapes.
📏 Uniform Shapes: Ensures identical dimensions for your creations.
🔄 Snapping: Aligns shapes for neat and organized builds.
🎭 Swatches: Customize colors and textures for objects.
📐 Size Adjustment: Control texture zoom for realism in designs.
💾 Save Swatches: Save custom textures for future use.
🌟 Upcoming Content: More tutorials on advanced tools and techniques are planned.
Key Insights
🎉 Creative Freedom: The Maker Pen in Rec Room allows for extensive creativity, similar to Minecraft, making it an appealing tool for builders.
🔍 Precision in Design: Uniform shapes and snapping features enhance alignment and consistency, vital for creating professional-looking builds.
🎨 Customization Options: The ability to choose colors and textures significantly impacts the aesthetic quality of creations, allowing for unique designs.
📊 Adjustable Parameters: Users can manipulate snapping and texture size for tailored builds, accommodating projects of varying scales and complexities.
💾 Efficiency in Workflow: Saving swatches streamlines the building process, enabling quick access to frequently used textures and colors.
🔄 Interactive Learning: The tutorial highlights the importance of experimenting with tools, encouraging users to explore and enhance their building skills.
🚀 Future Tutorials: Anticipation for more advanced tutorials suggests a growing community interest in mastering the Maker Pen and its functionalities.

Modified Video Transcript

00:00:00 – Introduction and Purpose of the Video
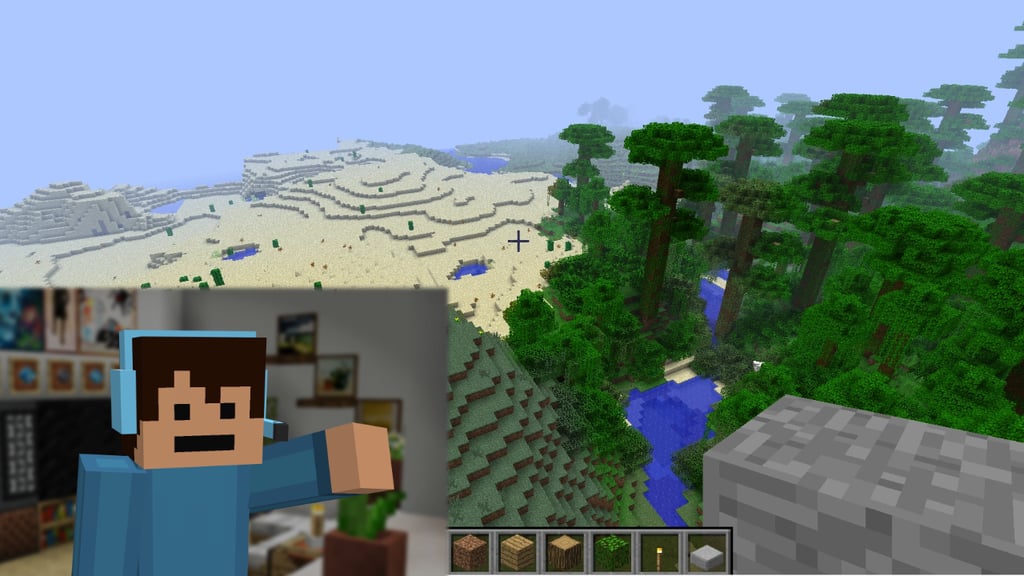
Hey everybody, it’s UnderMyCap, and welcome back to another video! Today, I’ll be showing you how to use the Maker Pen in Rec Room. Now, I know what you’re thinking—”Don’t you usually make Minecraft content?” Yes, I do, but I thought this game was really cool since it has similar creative elements.

As you can see, this is the menu you get when you open up your Maker Pen. You’ll notice the Create button, undo, editing buttons at the top, snapping options, and a bunch of settings.

00:00:25 – Starting the Tutorial (Create Button)
So, let’s start the tutorial. First, click on the Create button. When you do, you’ll see a variety of useful tools pop up. We’ll go through those in a second. You’ll also notice options like SnappingWorld Space, and Show Circuits—though we won’t get into circuits today. That’s for another video once I learn more about them!

00:00:51 – Create Tool Overview
The Create tool is the only tool in the Maker Pen that allows you to create shapes. Here, I’ve just created a square. You can also generate a bunch of other shapes by clicking the Pallet button. Let’s do that now.

You’ll see we have a variety of shapes, with cubes being one of the most common. There are also other shapes that people don’t use as often, but I still do. If you scroll down, you’ll find Tubes, which is one of the most important shapes in the game—though that’s a separate video. For now, let’s just select the Cube because it’s a cool and versatile shape.

00:01:19 – Uniform Shapes (Enabling and Disabling)
Now, when I draw my square, yours might look different because I have Uniform Shapes turned on. This setting ensures that the X, Y, and Z dimensions of your shape are the same. If you disable it by going to Tools and turning off Uniform Shapes, you’ll notice the difference when you draw. This tool is really useful if you want identical shapes while creating.

00:01:54 – Snapping (Introduction to the Feature)
Next, let’s talk about Snapping. This feature makes sure that your shapes stay aligned and neat. When snapping is off, you’ll see that shapes don’t align properly and rotate randomly. Essentially, snapping is like alignment—it helps you keep everything organized. We have two types of snapping: Surface Snapping and Grid Snapping.

Let’s start with Grid Snapping.

00:02:23 – Grid Snapping Settings
To adjust this, you just slide your finger (or use your mouse on a computer). When you turn on grid snapping, your shape snaps into place on a hidden grid, which also applies to rotation. This is useful for maintaining alignment. For example, when you draw a square, instead of it rotating randomly, it stays perfectly aligned. This is super helpful when you’re building precise structures.

00:02:53 – Customizing Snapping for Larger or Smaller Grids
You can also customize the snapping by adjusting the settings. If you want larger or smaller snapping areas, go to the Create tool, scroll to the bottom, and open the Snapping Grid Settings. Here, you can adjust Position Snap and Rotation Snap. For example, if we set the position snap to 1 meter, the square will snap every meter. If you’re working on large builds, you can adjust the snap accordingly. For more detailed work, you can lower the snap size to 0.005 meters for finer control.

00:04:32 – Rotation Snap Settings
Rotation Snap works similarly. You can adjust how much your object rotates—whether it’s every 30 degrees or 90 degrees. This is handy for building things that require specific angles.

00:05:02 – Customizing Objects (Textures and Colors)
Now that we’ve covered the basics of creating and aligning shapes, let’s talk about how to customize the look of your objects. If you don’t want to keep them orange, you can add textures and colors. Go back to the Pallet menu, and click on Swatches at the top. Swatches allow you to choose colors and textures for your objects.

00:05:36 – Using Swatches for Color Selection
When you open the swatches menu, you can either use preconfigured swatches or create your own. For example, you can change the color of an object using hex codes or by simply selecting from pre-made colors. You can also adjust the brightness. Let’s say we pick a darker blue, and you’ll see that the object now matches that color.

00:06:06 – Choosing and Adjusting Textures
Now let’s talk about textures. There are plenty of options, like cardboard, wood grain, painted walls, and brick (like the one on the wall behind me). Let’s select Metal Floor because it’s reflective and looks cool.

00:07:09 – Texture Size (Zooming In and Out on Textures)
You can also adjust the size of the texture. This doesn’t affect the size of the object itself but how zoomed in the texture appears. The higher the number, the more zoomed in the texture will be. For example, if the texture size is set to 5000, it will be so zoomed in that you can’t even see the details. Lower values make the texture more detailed and visible.

00:07:41 – Saving and Managing Swatches
Once you’re happy with the color and texture, you can either save it as a new swatch for future use or replace an existing one by selecting Save Swatch. If you want to restore the swatch to its original state, click Restore Swatch. And if you don’t need certain swatches anymore, you can simply delete them.

00:08:12 – Conclusion and Next Steps
That wraps up this tutorial on the Create tool in Rec Room. In future videos, I’ll dive deeper into other features like tubes. If you found this video helpful, don’t forget to leave a like and subscribe! Part two will be out soon and will be linked right here or above me.

Thanks for watching, and I’ll see you in the next video!

This post has used AI to generate and enhance content

Thank you for reading this post.

If you want to connect with me on other social media platforms, feel free to use the button below. Have an awesome day!

Scroll to Top